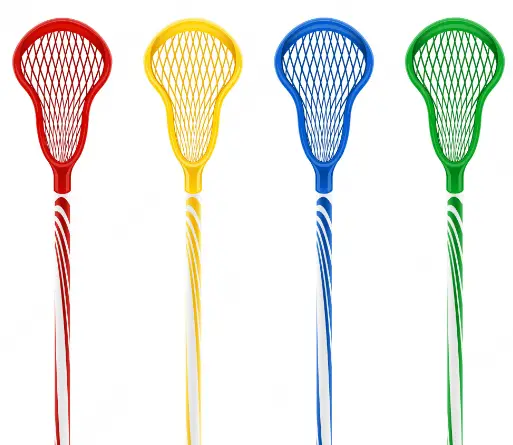
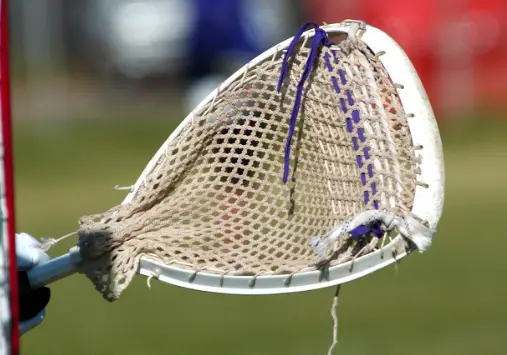
Dying a lacrosse head is a great way to personalize and customize your equipment. Not only can it make your stick stand out on the field, but it can also be a fun and creative project to work on.
In this article, we will go over the steps and materials you need to properly dye a lacrosse head. From preparing the head to selecting the right dye, we will provide you with all the information you need to make your lacrosse head look brand new. So, grab your materials and get ready to add some color to your game!
Different Types Of Dye Patterns For A Lacrosse Head
Like any work of fine art, dye patterns are available in a huge variety of forms, hues, and designs. Not yet certain about your personal style? Here are some ideas.
Solid
A dye job in a solid hue always exudes sophistication. A solid color dye design is always a good option, whether you’re trying to match your head with your team colors or merely stand out from the crowd.
Fade
Your best option if you want something silky smooth is to undertake some sort of fading dye job. The only consideration will be which two or even three colors you wish to mix.
Marble
When done correctly, dying heads in the marble style may take a little more time and work, but it will be praised on the field.
Materials Needed
- Lacrosse head
- Dye (specifically designed for lacrosse heads or fabric dye)
- Water
- Bucket or container for dye mixture
- Plastic wrap or plastic bags
- Gloves (optional)
- Scissors (optional)
- Newspaper or drop cloth (optional)
- Brush or sponge (optional)
- Hair dryer or heat gun (optional)
Steps Of Dyeing The Lacrosse Head With Solid Color
- Start by cleaning the lacrosse head thoroughly. Use mild soap and warm water to remove any dirt, grime, or residue that may be on the head. Rinse it well and dry it completely with a towel or air dry it.
- Sand the surface of the lacrosse head with fine-grit sandpaper. This will help to create a smooth surface that the dye can adhere to better. Sand the entire head, including the sidewalls, scoop, and throat.
- Apply a base coat of paint or primer to the lacrosse head. This will help to provide a uniform surface for the dye to stick to and will also help to prevent any bleeding or unevenness in the final color. Allow the base coat to dry completely before proceeding to the next step.
- Mix the dye according to the manufacturer’s instructions. It’s best to use a dye specifically designed for lacrosse heads, as it will be more durable and able to withstand the wear and tear of a game.
- Apply the dye to the lacrosse head using a paintbrush or spray bottle. Start at the top of the head and work your way down, making sure to cover the entire surface evenly. Be careful not to apply too much dye as this can cause bleeding or unevenness in the final color.
- Allow the dye to dry completely. This can take anywhere from a few hours to overnight, depending on the type of dye and the humidity levels.
- Once the dye is dry, apply a clear coat of sealer to the lacrosse head. This will help to protect the dye and make it more durable. Allow the clear coat to dry completely before using the lacrosse head,
- Once the lacrosse head is dry, use fine-grit sandpaper to smooth out any rough spots. This will help to create a smooth and even finish.
- The lacrosse head is now ready for use! Enjoy your new look!
Note: It’s always best to test a small area of the lacrosse head before starting the entire process to ensure that the dye is working well. Also, always follow the manufacturer’s instructions and safety guidelines when working with dyes.
Steps Of Dyeing The Lacrosse Head With Fade Color
Making a fade on your head is quite similar to the method involved in using a solid color dye. The only important consideration will be determining how much of your head you want to immerse in the dye.
Start by going through the same steps you would if you were dyeing your entire head (cleaning the head, heating water, etc). Make sure the regions you want to be the darkest stay in the container the longer after adding your RIT dye, and vice versa, as you immerse the section of your head you want to dye. Continually drop your head in and out.
Pull your head out after about a minute of submerging it, then proceed as you typically would with a solid color dye job.
Steps Of Dyeing The Lacrosse Head With Marble Color
You must first purchase some webbing spray from your neighborhood hardware store. After washing it, use this to spray your head downward and draw the contour of your marble-like pattern.
After doing so, dunk your head into the color(s) of your choice while the marble spray is still on. You have the option of going with a solid color scheme or attempting a two-color fade design.
You can carry out the remaining steps as if you were dying your head with a solid hue. Just keep in mind to wash off all of your webbing sprays before you finish chilling your head.
Conclusion
In conclusion, dyeing a lacrosse head is a relatively easy process that can give your gear a unique and personalized look. It is important to use the proper dye and follow the instructions carefully to ensure the best results. Remember to protect your work area and wear gloves to avoid staining your hands. Have fun experimenting with different colors and designs to make your lacrosse head stand out on the field!


